
Visual schedule for kids: what it is and how to make one at home
What a visual schedule is, and how to make one at home: pictures or words, how many steps, where to put it, and free printable charts to start with.
A visual schedule is a list of what happens next, in order, that your child can see. Usually it is pictures in a row or a column: a T-shirt for getting dressed, a toothbrush for teeth, a shoe for shoes. Your child looks at it to find out what comes next, instead of asking you, or waiting for you to say it again.
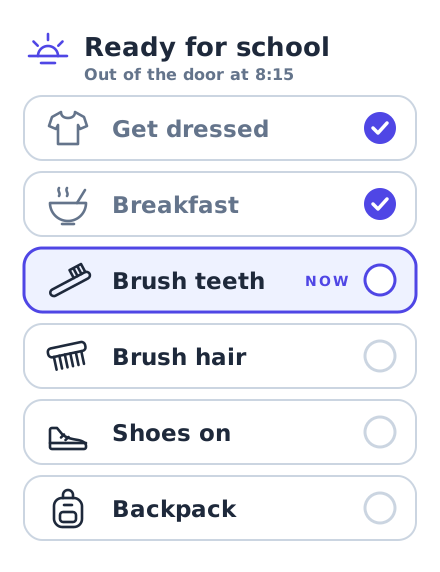
That is really all it is. Most classrooms have one on the wall showing the shape of the school day, so your child may already know how to read one. Visual schedules are widely used in schools and by families. You don’t need a particular reason to make one, though. A morning that keeps going sideways at the same step is reason enough, and a sheet of paper is all it takes.
One routine at a time
Start with one routine, not the whole day. “Getting ready for school” or “bedtime” is a good size: it has a clear start, a clear end and the same steps most days.
A whole day on one sheet turns into a wall of small pictures that nobody reads. For a second routine, make a second schedule.
Pictures or words?
Both, for most children. The picture is what a younger child reads, and what an older one takes in at a glance when they are half awake. Two or three words make sure the picture means the same thing to everyone: a toothbrush could mean “brush teeth” or “go and find your toothbrush”.
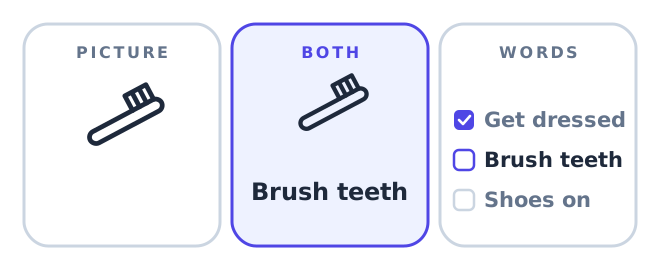
Simple line drawings print well in black and white, and a drawing of a shoe stands for any pair. Photos of your own things work too, but they need redoing when the shoes change. And if your child would like to draw the pictures, let them: a schedule they made is one they are more likely to look at.
A child who reads well may want words only, as a checklist. That is fine. What matters is that the steps are written down and in order, not that they have drawings.
How many steps?
Five to seven is plenty for one routine. Fewer for a younger child.
If your list runs past seven, look for steps that are really one: washing your face and brushing your teeth are one trip to the bathroom. Or the routine is really two, such as “getting up” and “getting out of the door”.
Put the steps in the order they really happen in your house, room by room, and keep that order the same every day.
Where to put it
Where the routine happens, at your child’s eye level rather than yours. A morning schedule goes in the kitchen or by the front door, a bedtime one on the bathroom door or by the bed. If the schedule lives somewhere else, it gets walked past.
Give your child a way to mark each step as done: a tick, a sticker, or a picture card moved from one side to the other. Then, when they ask what’s next, point at the schedule instead of answering. You are still there; you just aren’t the list.
Now and next
Sometimes the whole list is more than a moment needs. A now-and-next strip shows just two steps: the one happening now, and the one after it.

It is handy for the step where things usually stall, or when you are out and the full schedule is at home. A card folded in half or two sticky notes will do. When “now” is done, the “next” card moves across and a new one goes behind it.
When a timer is worth adding
A schedule says what to do and in what order. It does not say by when, and “by when” is often where the arguing starts.
If the steps are getting done but the clock keeps winning, add time. Write the time you leave at the top of the schedule (each of the charts below has a box for it) and put a clock where your child can see it. For a child who can’t read a clock yet, a timer that shows time running out, such as a sand timer or a kitchen timer with a shrinking disc, is easier to follow than numbers.
If the steps themselves are still a muddle, hold off on the timer. Settle the order first, then add the clock.
Free charts to start with
Each of these is a ready-made visual schedule for one routine: picture steps in order, a box to tick each day, and a space for the time. Free, no email needed, in A4 and US Letter.
- Morning routine chart: seven picture steps for school mornings, Monday to Friday.
- Bedtime routine chart: seven steps from tidy-up to lights out, for every night of the week.
- After-school routine chart: from the front door to free time, Monday to Friday.
- Blank routine chart: seven empty rows for your own steps, with a circle beside each for your child to draw the picture.
- Sticker chart: seven picture steps for school-day mornings and nights, with a round space for a sticker on each, Monday to Friday.
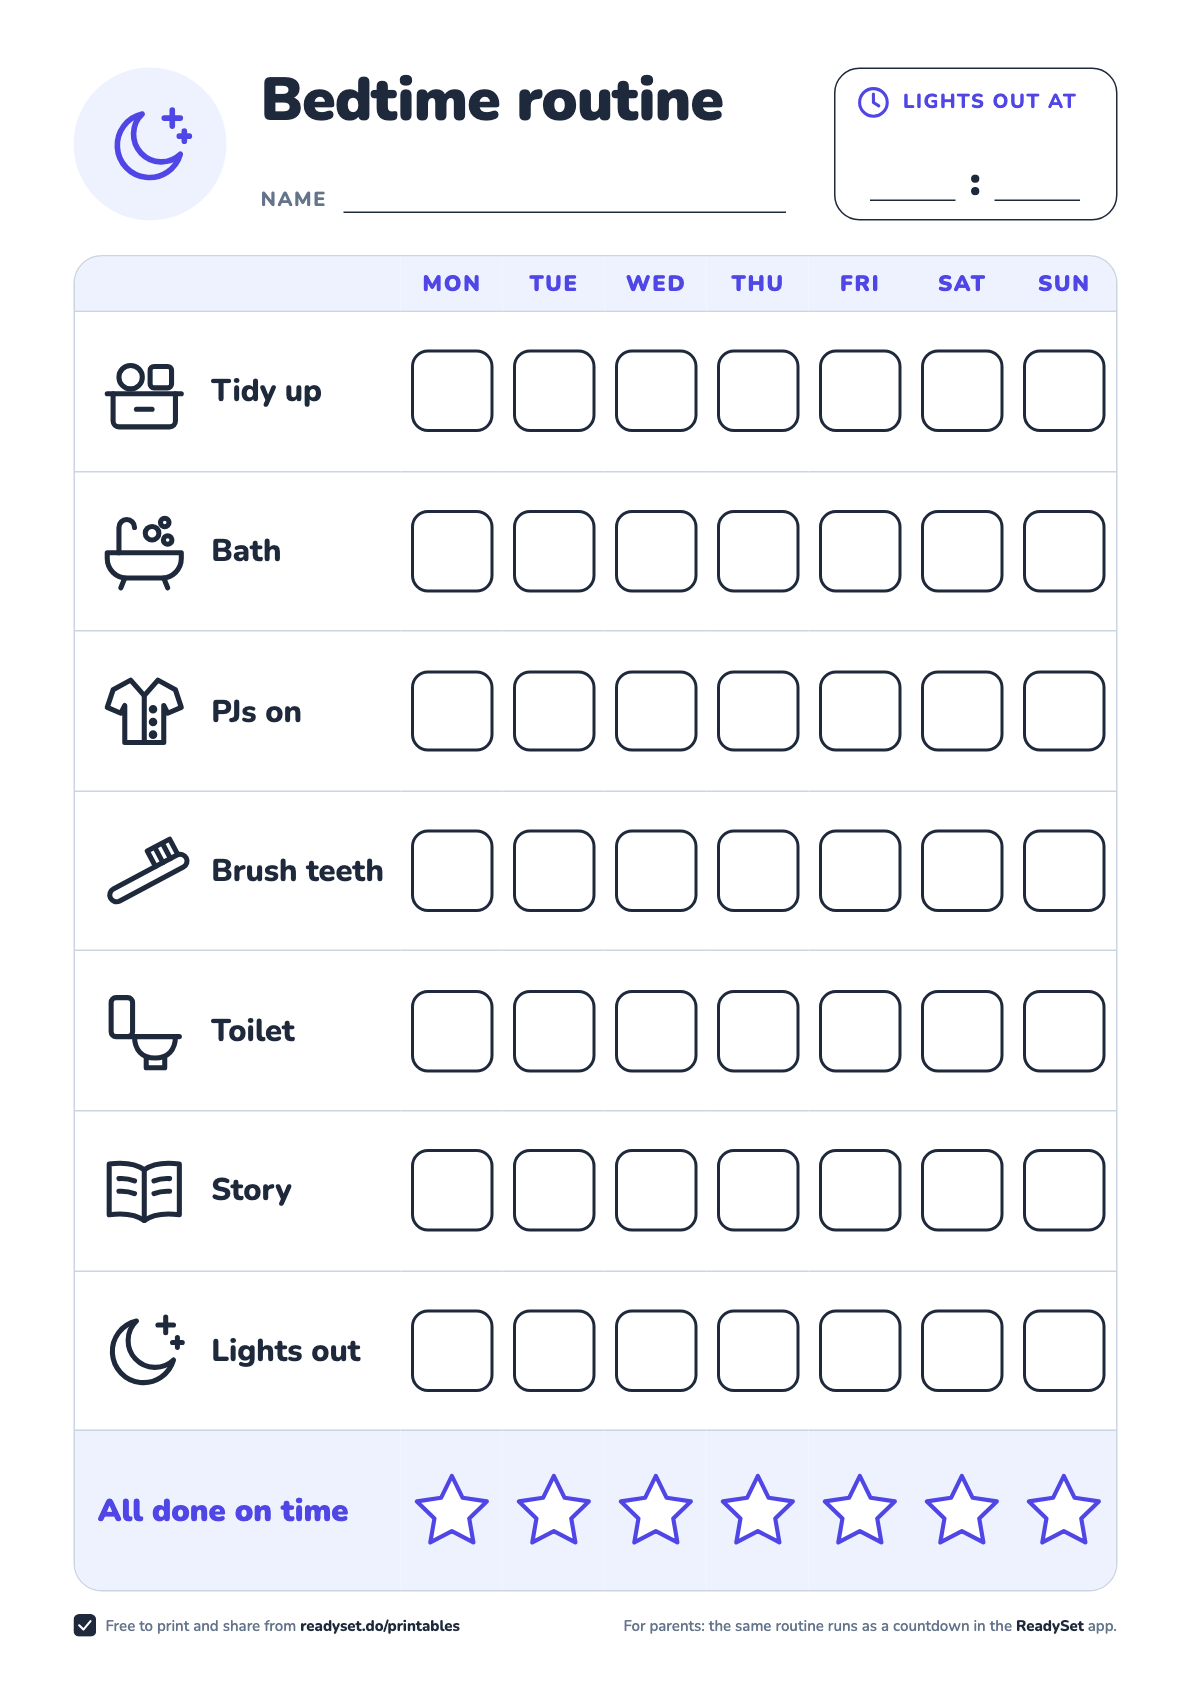
For more on making a chart last past the first week, see how to make a morning routine chart that works.
On a phone or tablet
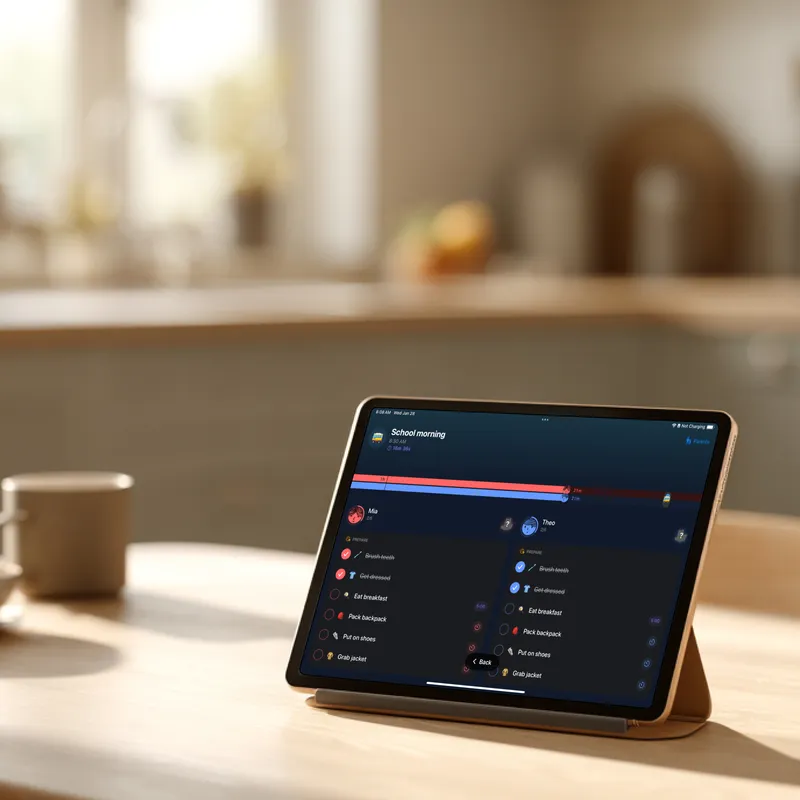
ReadySet is one way to do the same thing on an iPhone or iPad: the steps of a routine in order, and a countdown to the moment you need to be ready, on a screen the whole kitchen can see. It’s free to try, and the paper charts work perfectly well without it.